
TESLA PAINT SHOP Upload guide
Your wrap, on your Tesla: App and USB upload guide
Take a model-specific PNG into Tesla Paint Shop. Check file requirements, follow the mobile or USB steps, and resolve missing wraps. Digital wraps change the screen visualization, not your physical paint.
Updated
Upload in three steps
Match your vehicle and prepare a PNG
Choose the exact model, year and trim. Download a compatible wrap or design on its template, then export the flat PNG at the original dimensions.
Transfer by app or USB
In Tesla App 4.59.0 or later, use Creations → Wrap → Upload. For USB, place the PNG directly in a Wraps folder at the drive root.
Apply in the vehicle
Open Toybox → Paint Shop → Wraps and select your design. You can switch wraps or restore the original display color at any time.
File requirements
| Requirement | Standard | What to check |
|---|---|---|
| Format | Genuine PNG | Convert JPG, WEBP or HEIC; renaming an extension is not conversion. |
| File size | At most 1 MB per image | Oversized files may be skipped. Check the exported file. |
| Dimensions | 512×512 to 1024×1024; Cybertruck uses 1024×768 | Keep the exact template size and aspect ratio to prevent stretching. |
| File name | At most 30 characters; ASCII letters, numbers, spaces, - and _ | Use a short name such as My_Wrap.png; avoid emoji and special characters. |
| USB folder | Wraps at the drive root | Put PNGs directly inside, without nested folders. |
| USB format | exFAT, FAT32 / MS-DOS FAT, ext3 or ext4 | NTFS is unsupported. Keep map and firmware updates off this drive. |
| File count | Up to 10 in the app and 10 on USB | Remove extras and test with a single compliant PNG. |
| Mobile app | Tesla App 4.59.0 or later | If Upload is missing, check app and vehicle software or use USB. |
Start with the exact vehicle template
Model 3, Model Y, Cybertruck and some year or trim variants use different body layouts. Match your vehicle before choosing a wrap or opening its editing template. The editor requires sign-in.
Keep the layout intact while adding artwork, text and color. Where accurate texture preview is supported, inspect the hood, doors, rear and panel seams. A preview is a reference; verify the final result in your vehicle.
Export the flat wrap PNG, rather than a car screenshot, gallery cover or 3D image. Run the PNG checker to review its format, dimensions, size and filename.
Upload through the Tesla App
- Save the exported PNG in Files or Downloads on your phone. Fully download it; do not select a web preview or cloud placeholder.
- Update Tesla App to 4.59.0 or later and select the intended vehicle.
- Open Creations → Wrap → Upload, select the local PNG and complete the upload.
- In your car, open Toybox → Paint Shop → Wraps and choose the uploaded design.
This site supplies files and checking tools; you transfer them through Tesla App. Availability depends on the vehicle, its software and rollout. If the menu is absent, check updates or use USB on a supported vehicle.
Instructional diagram. Actual menus depend on the vehicle and software version.
Transfer with a USB drive
- Use exFAT, FAT32 / MS-DOS FAT, ext3 or ext4. NTFS is unsupported. Formatting erases files, so save anything you need first.
- Create a folder named Wraps at the drive root, with that capitalization, outside any other folder.
- Place up to 10 compliant PNGs directly inside. Avoid nested folders and map or firmware updates on the same drive.
- Eject safely and connect to a vehicle USB port that supports data. A charging-only port cannot read files.
- Select the wrap in Toybox → Paint Shop → Wraps. If it is missing, test one small PNG with a short ASCII name.
USB/
└── Wraps/
    ├── My_Wrap.png
    └── Blue-01.png
Instructional diagram. Actual menus depend on the vehicle and software version.
Fix an oversized or invalid file
Preserve the template dimensions and proportions, then compress the PNG or reduce its color palette. Keep transparency where the template needs it. Renaming a JPEG to .png does not make a valid PNG.
For a square template, 512×512 may help when needed. Keep Cybertruck at its original 1024×768 layout; do not crop panels or force a rectangular template into a square.
Use only ASCII letters, numbers, spaces, hyphens or underscores. Aim for no more than 30 characters including the extension. The checker cannot confirm vehicle rendering; verify the result in your car.
Check text direction and panel seams
UV panels can be rotated or mirrored. If text on one door is reversed, adjust that panel instead of flipping the whole file and changing every other panel.
Temporarily add text or arrows to the front, rear and both sides. Verify orientation and seams, then remove the markers before export. Where accurate texture preview is unavailable, compare the template and test in the vehicle rather than relying on a generic model.
Find missing wraps and correct distortion
- Confirm a genuine PNG at most 1 MB, with dimensions matching the template.
- Check filename characters and length. App and USB each allow up to 10 files; test with just one.
- For USB, check the root Wraps folder, filesystem, data port and absence of map or firmware updates.
- For app upload, select a fully downloaded local PNG and check app and vehicle software support.
- If visible but stretched, mirrored or misaligned, return to the exact vehicle template, adjust the affected panels and export again.
If the issue remains, use the contact page with your model, year, vehicle software version and PNG check results to help identify a file or compatibility problem.
Check your PNGFind your vehicle template
Model, year and trim determine the layout. Keep the original template dimensions before browsing, editing or downloading a blank PNG.
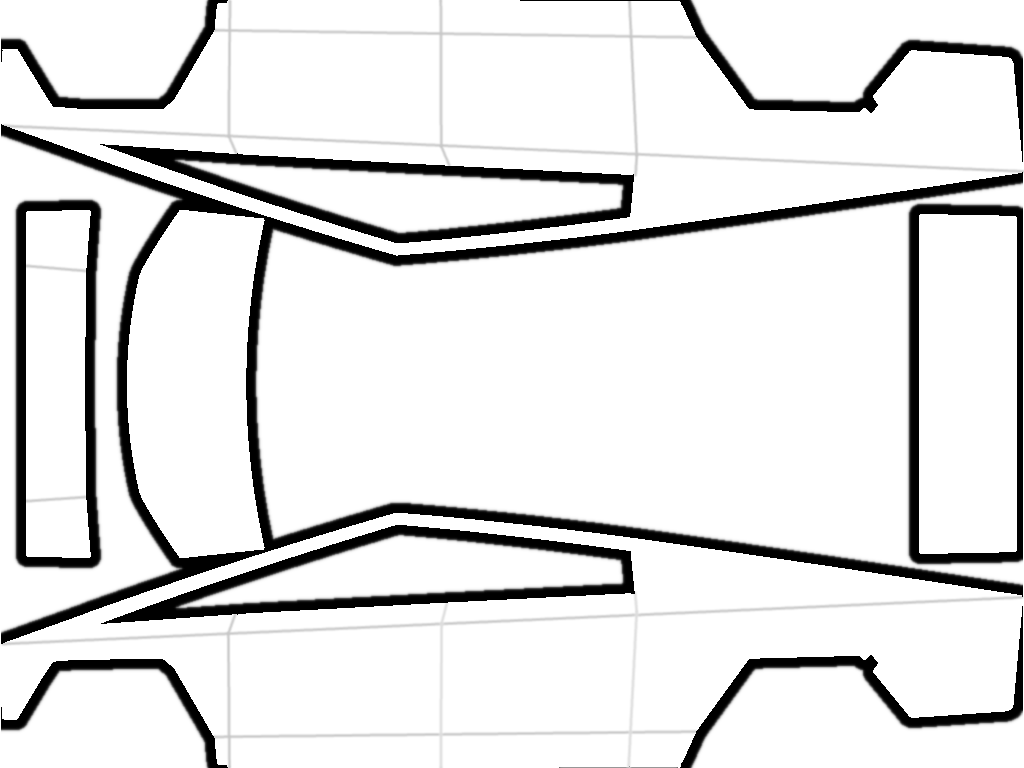
Cybertruck
1024 × 768 px
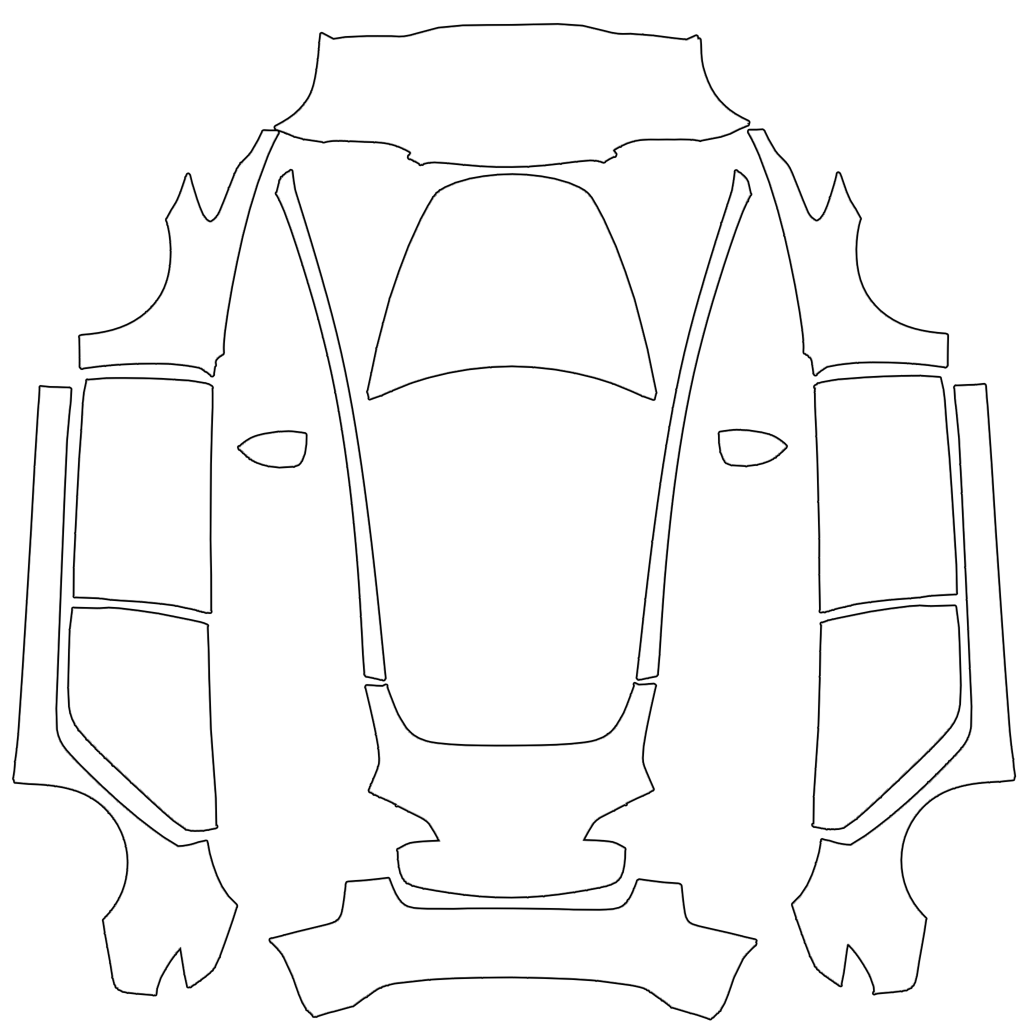
Model 3 (2017–2023)
1024 × 1024 px
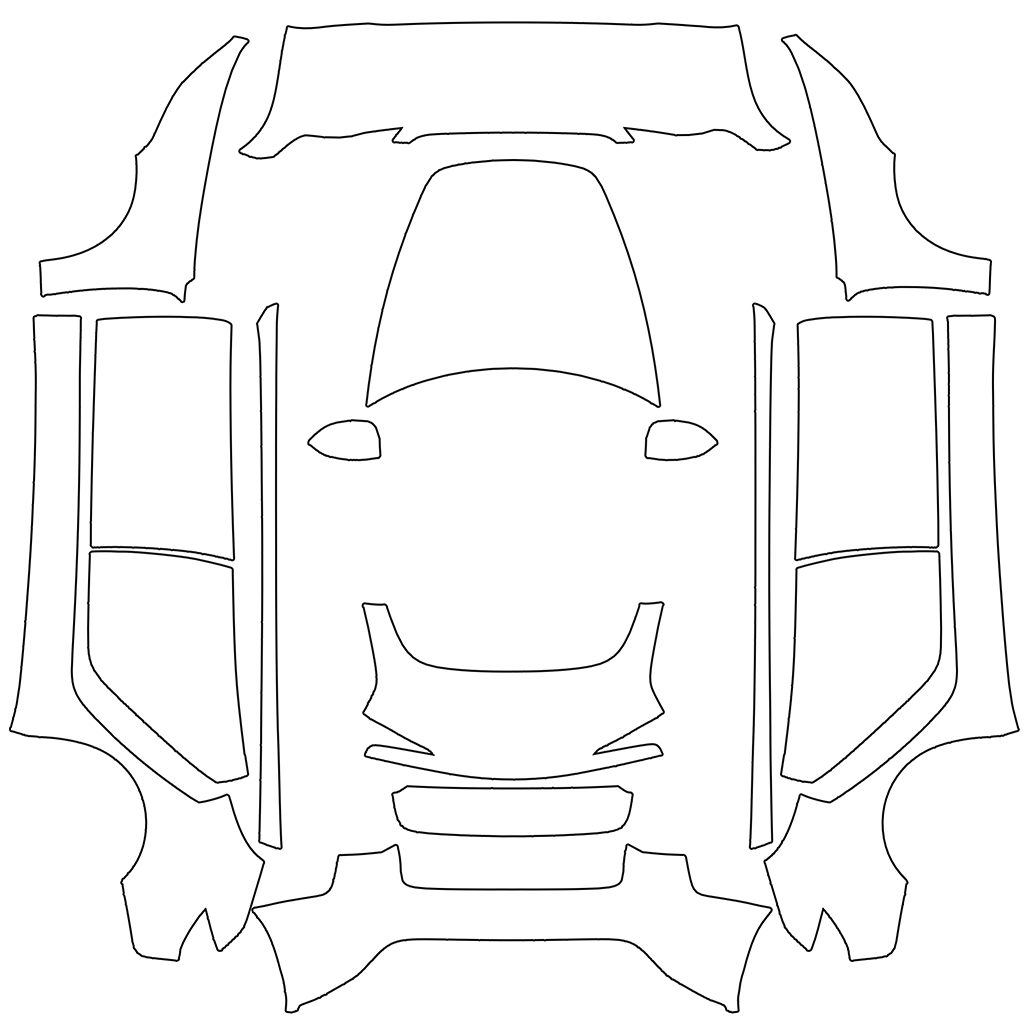
Model 3 (2024+) Standard
1024 × 1024 px
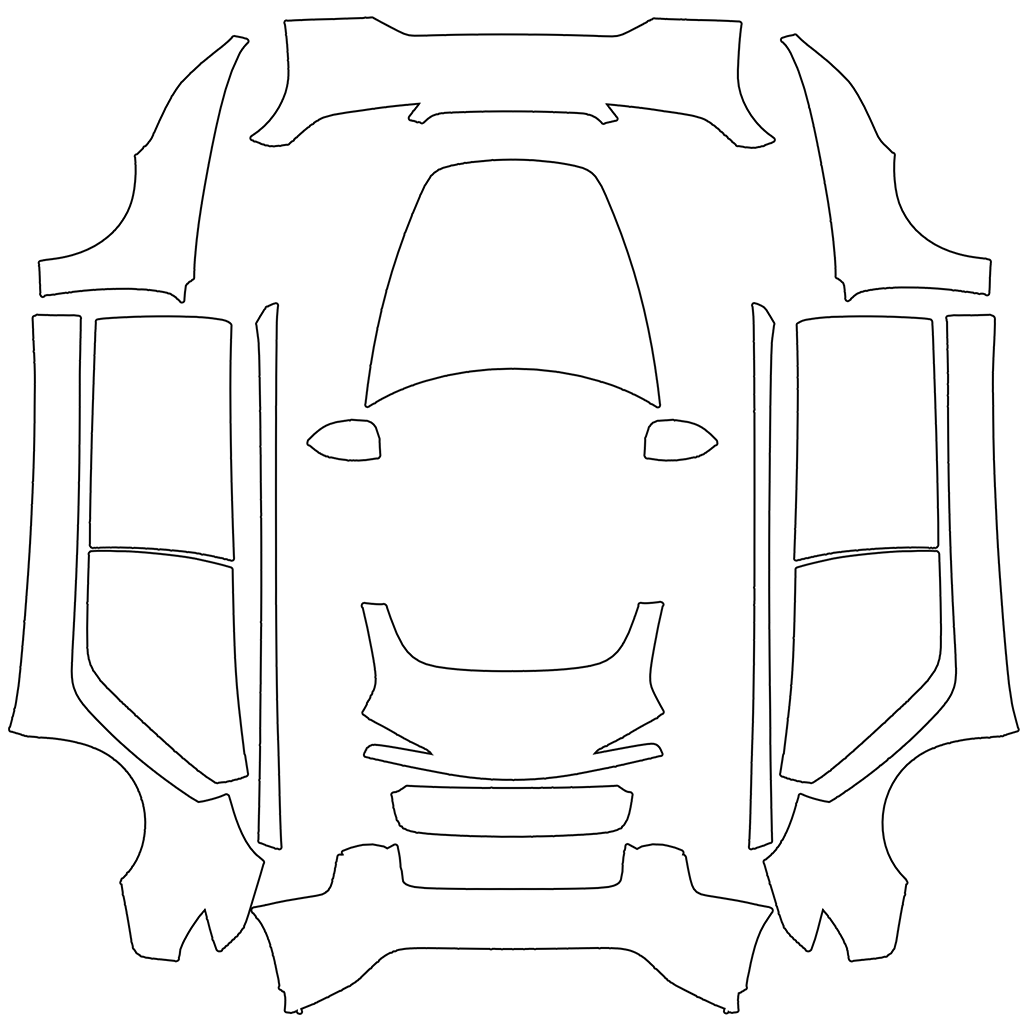
Model 3 (2024+) Performance
1024 × 1024 px
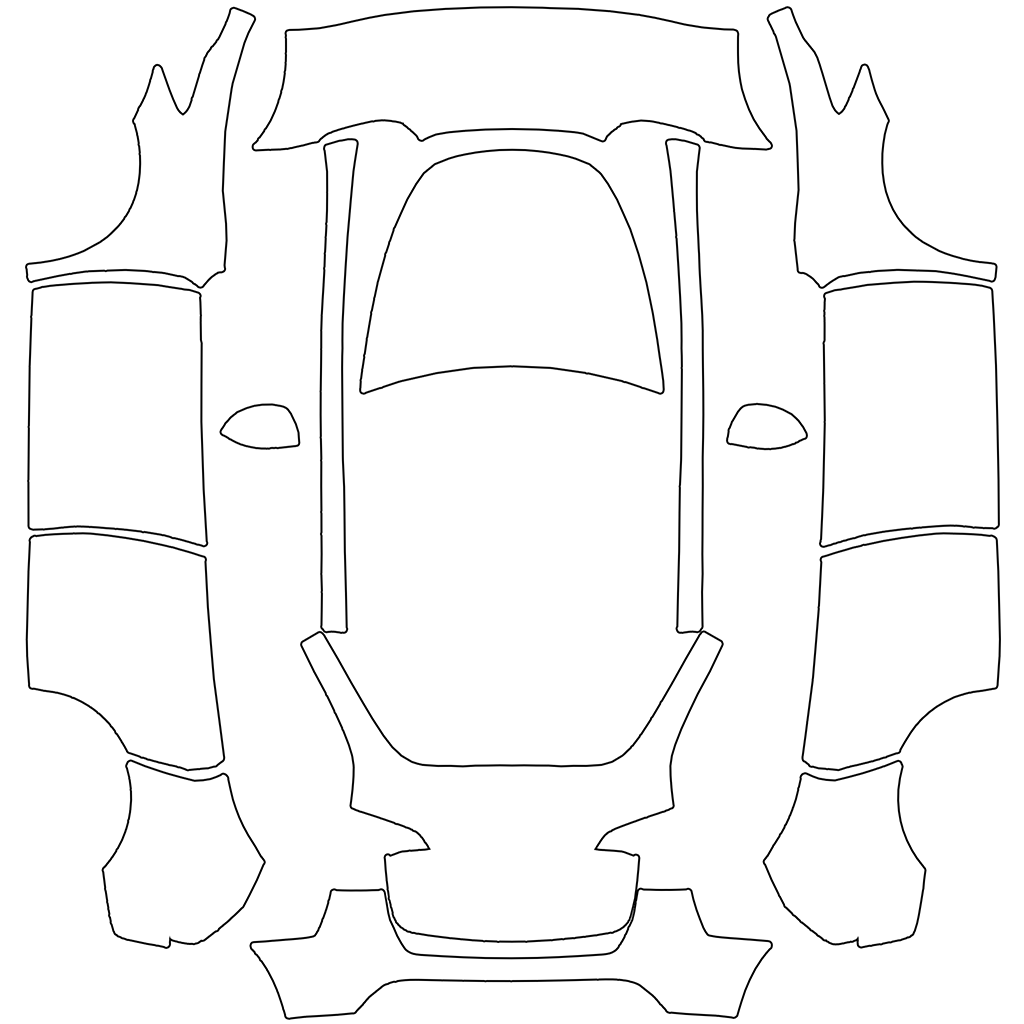
Model Y (2020–2024)
1024 × 1024 px
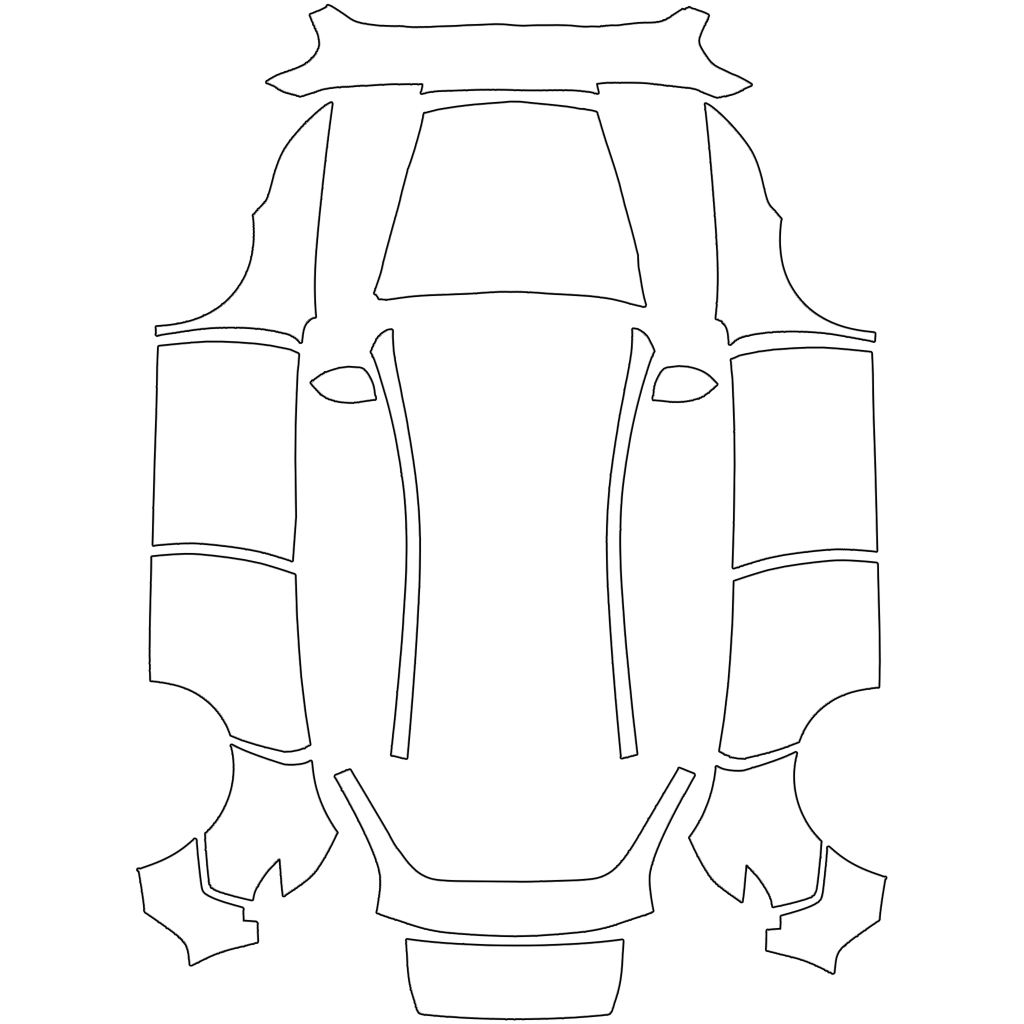
Model Y (2025+) Standard
1024 × 1024 px
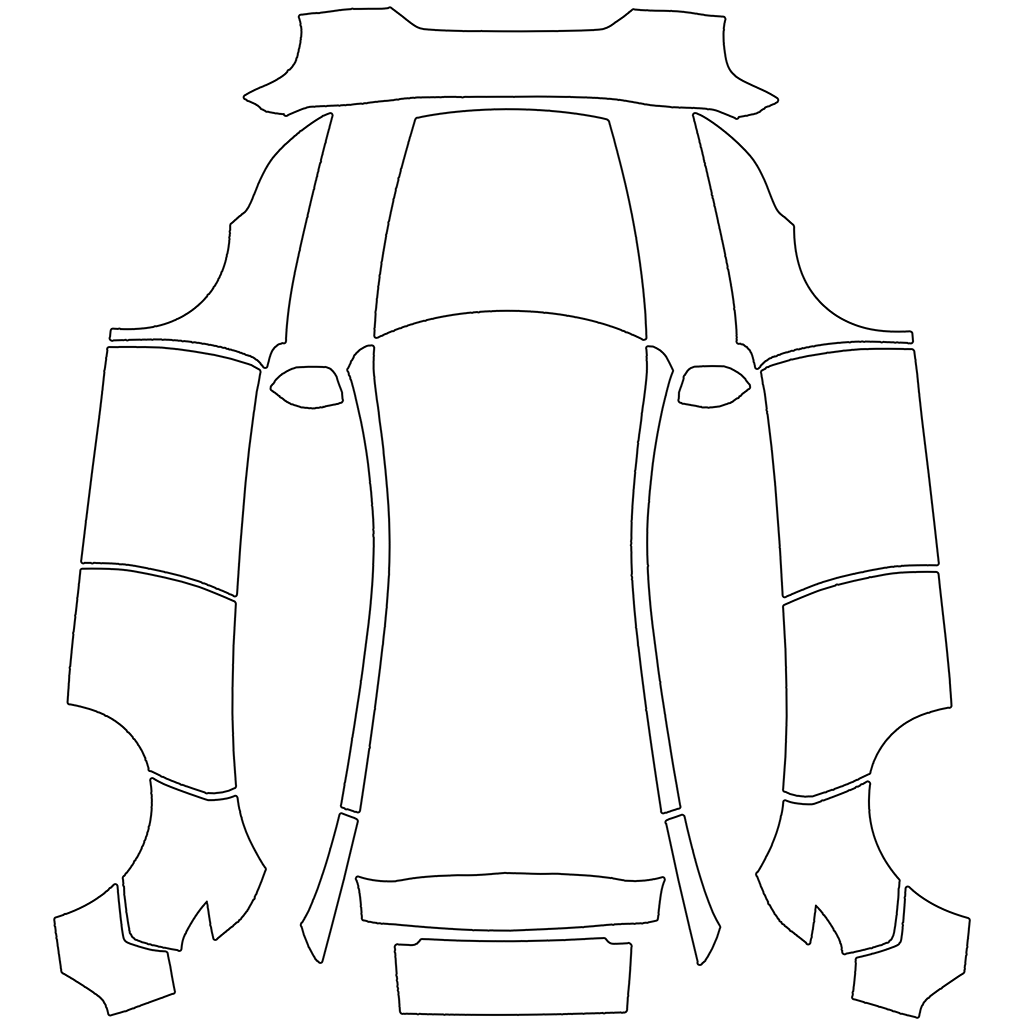
Model Y (2025+) Premium
1024 × 1024 px
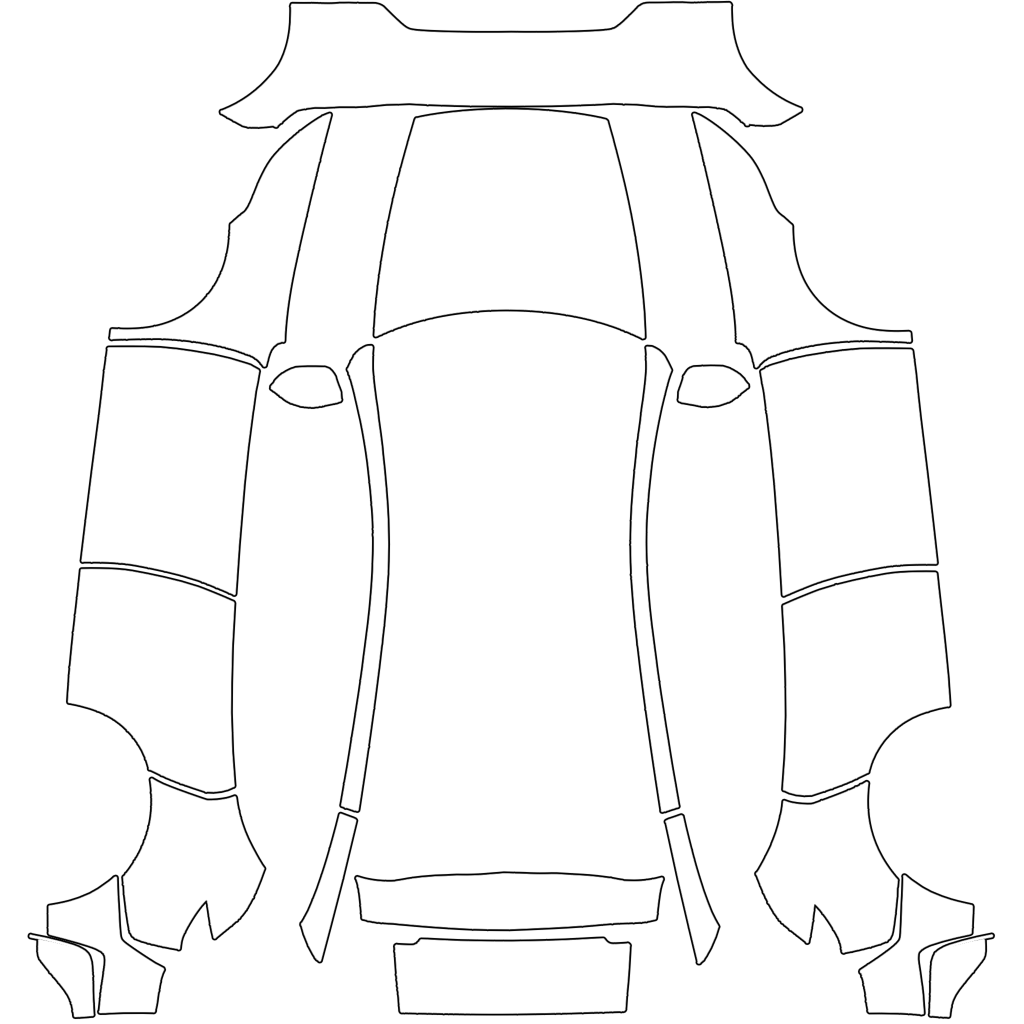
Model Y (2025+) Performance
1024 × 1024 px
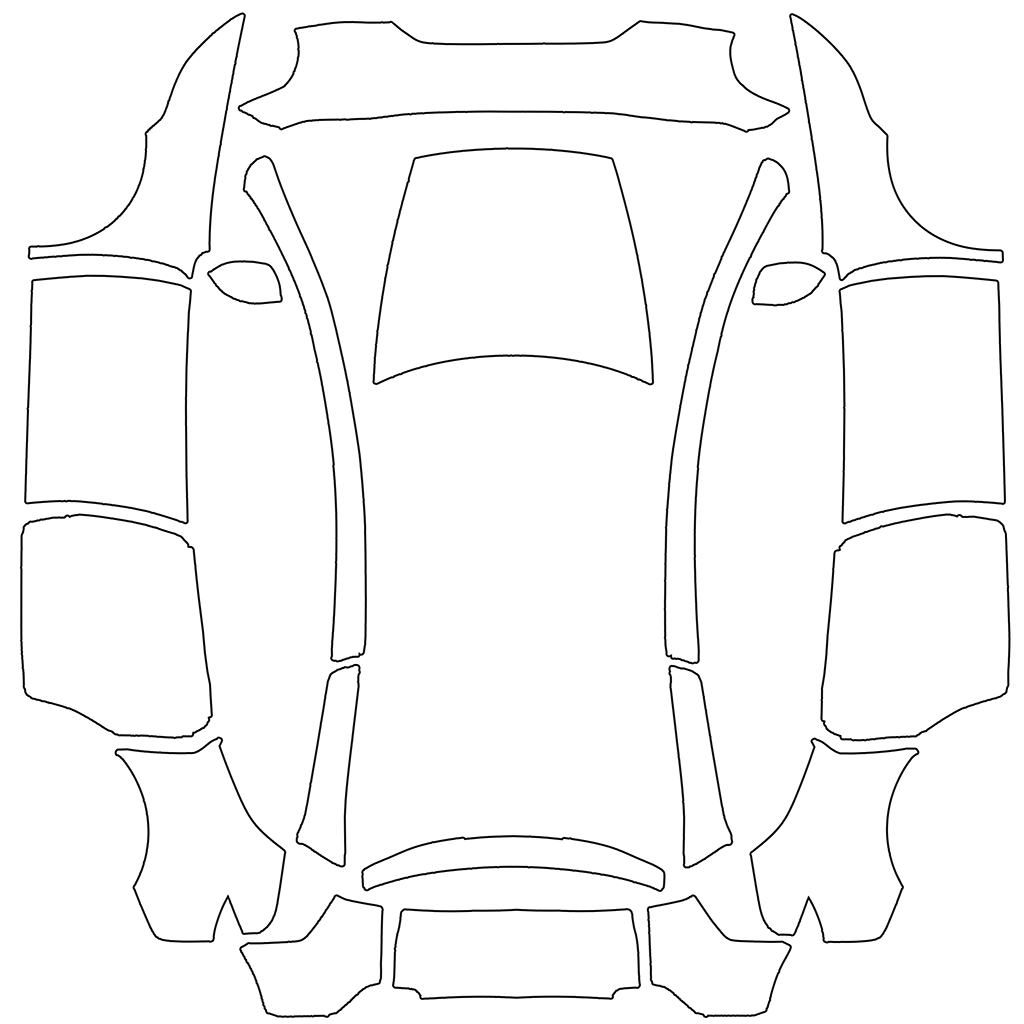
Model Y L
1024 × 1024 px
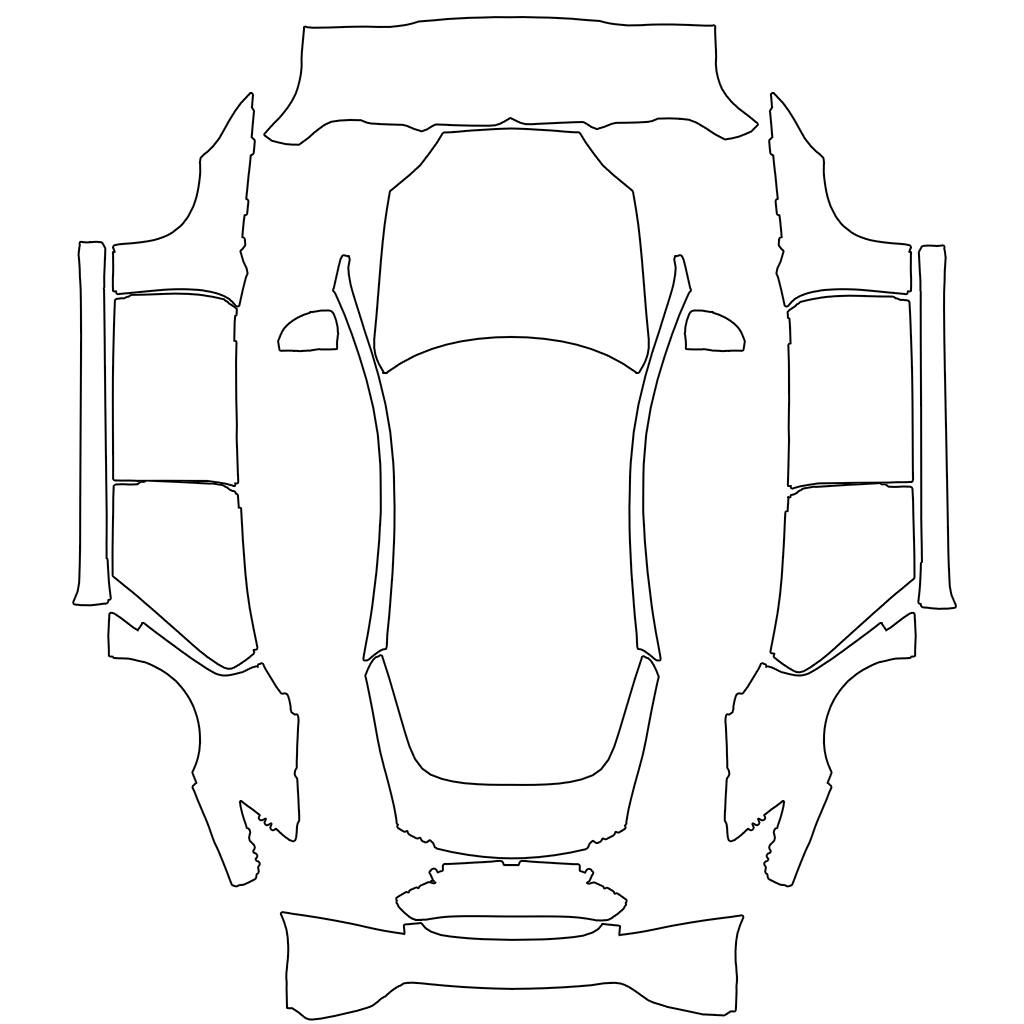
Model S (2021+)
1024 × 1024 px
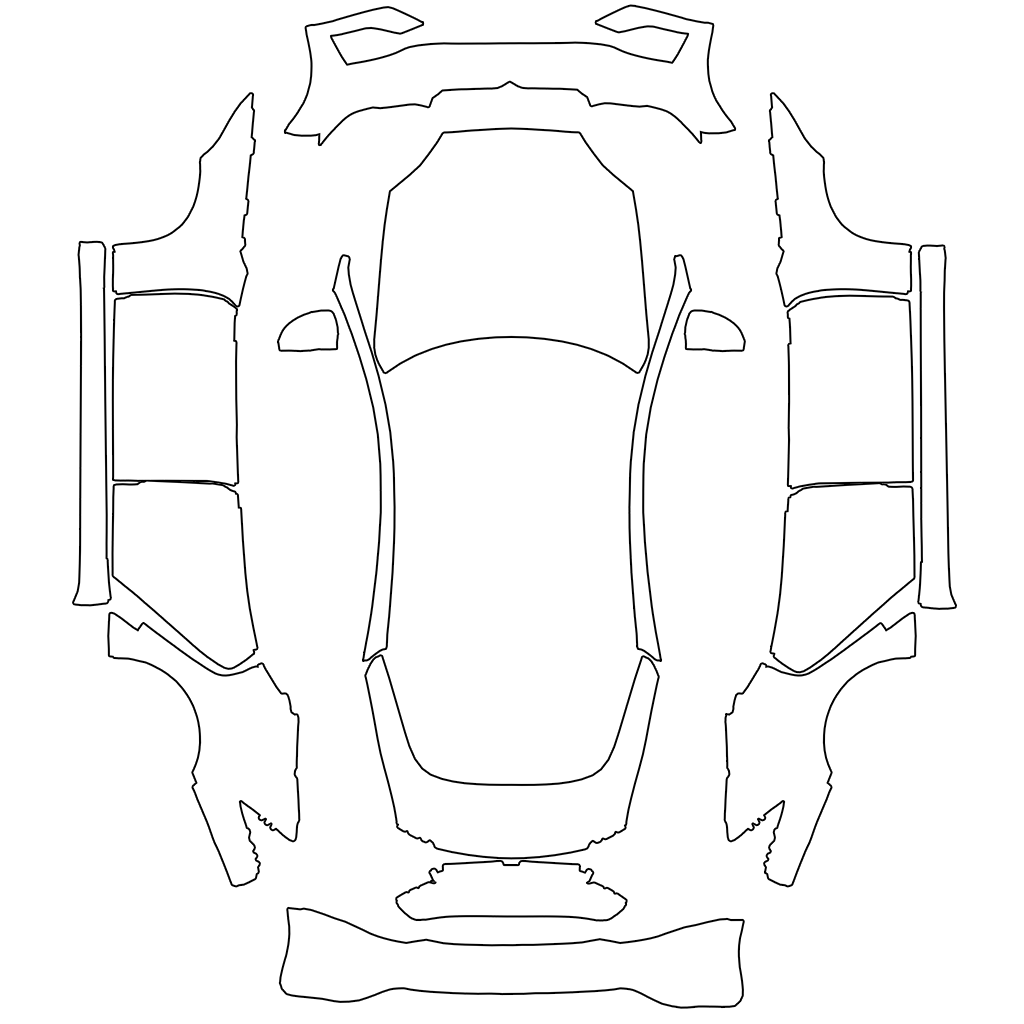
Model S (2025+) Plaid
1024 × 1024 px
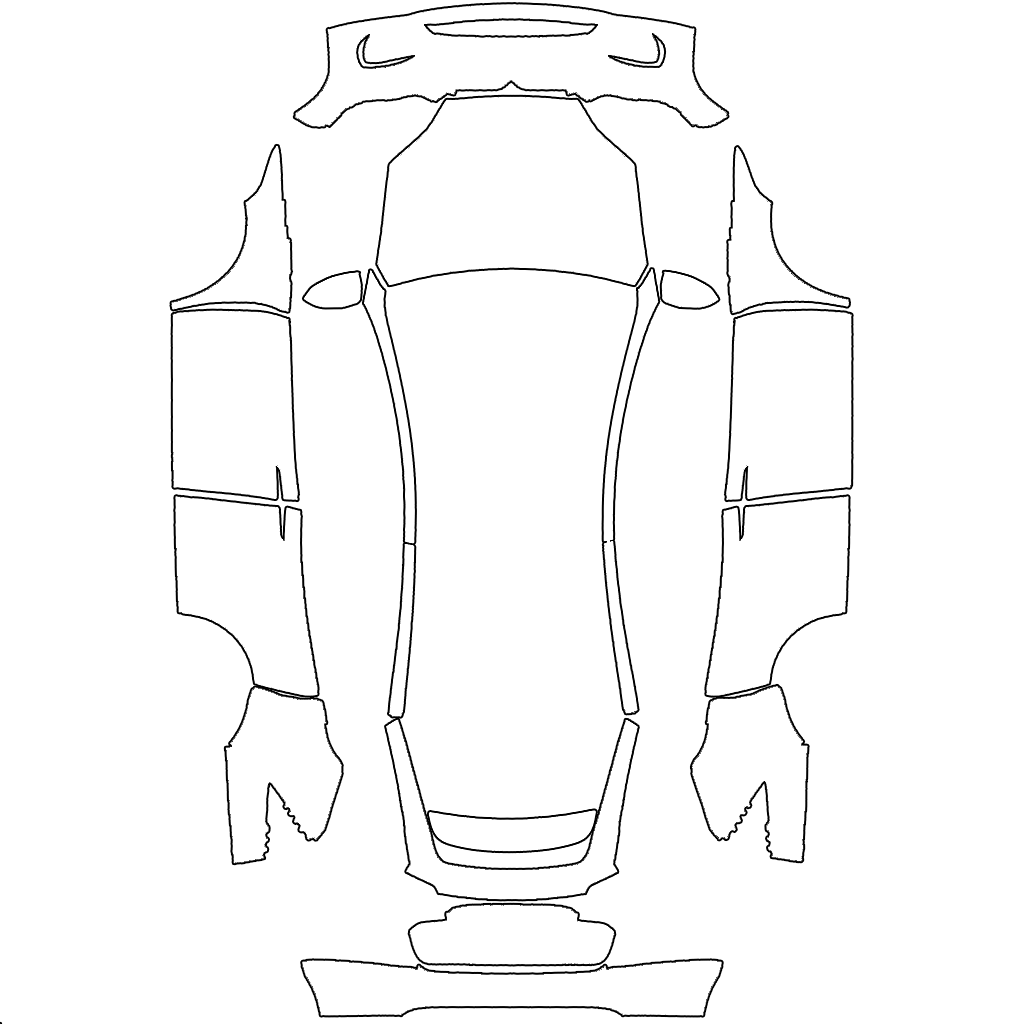
Model X (2021+)
1024 × 1024 px
Common questions
Why is my wrap missing from Paint Shop?
Check PNG format, the 1 MB limit, dimensions and filename. For USB, verify root Wraps, filesystem and data port. For the app, select a fully downloaded local PNG. Run the checker, then confirm vehicle software support.
Can I upload JPG, WEBP or HEIC?
Paint Shop reads PNG. Convert other formats and export against the correct vehicle layout. Changing the filename extension alone does not convert the image.
Does a digital wrap change the actual paint?
No. It changes only the on-screen vehicle visualization. You can replace it or restore the display color; the physical paint stays the same.
Can models or trims share one wrap?
Usually not. Models and some year or trim variants use different layouts. Choose a matching design or adapt the artwork to the exact template.
Is USB required?
Tesla App 4.59.0 or later offers Creations → Wrap → Upload on supported vehicles. If the menu is unavailable, check vehicle software and use USB where supported.
Further reading
TeslaWrap Pro is an independent creative tool and is not affiliated with Tesla, Inc. Availability depends on your vehicle and software.